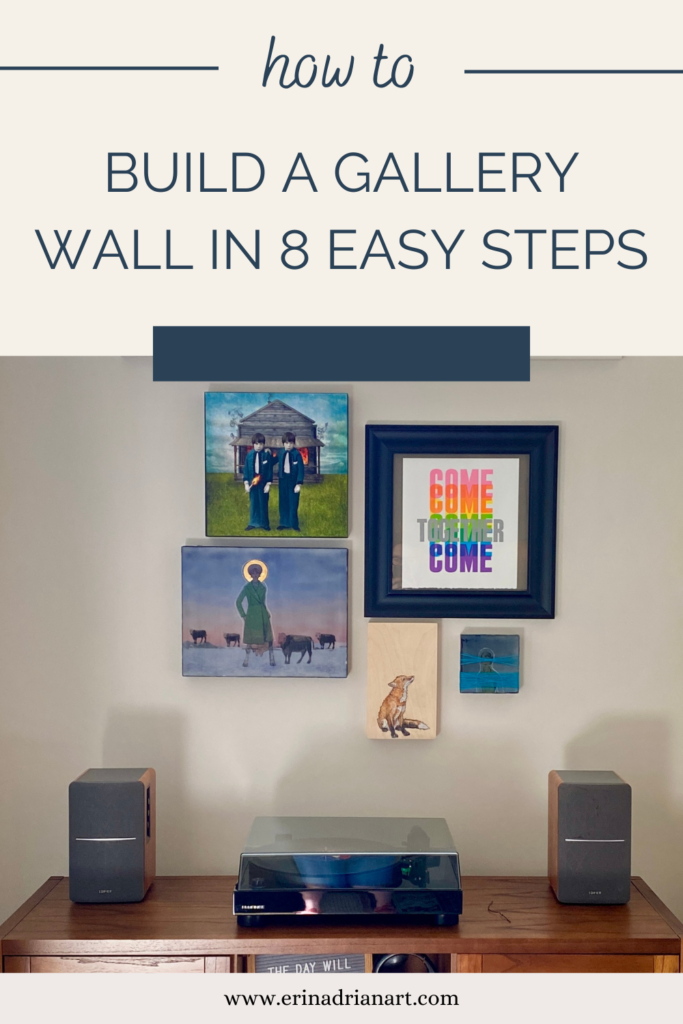
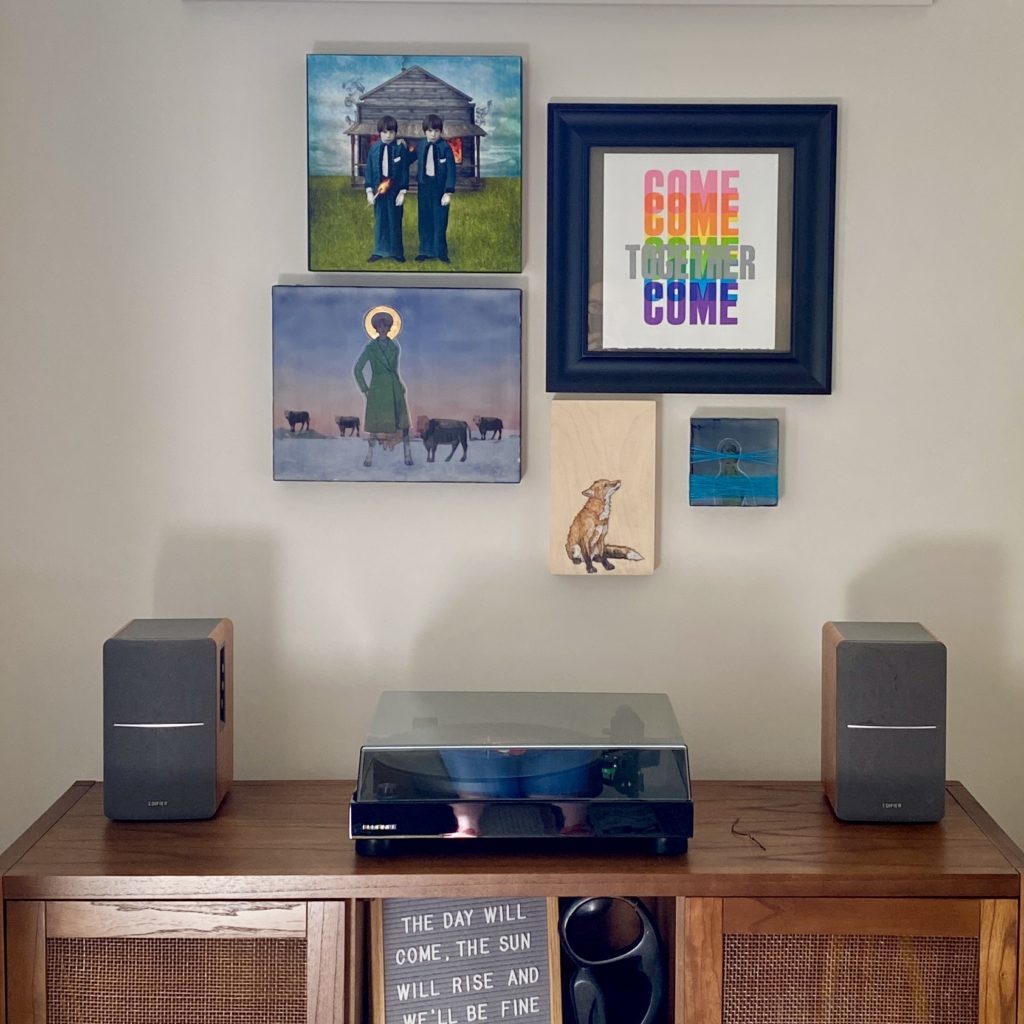
Have you ever flipped through a magazine (or scrolled Pinterest) and seen a gorgeous gallery wall – with all their art/photos hung *just* perfectly? If you’re like me, you likely have thought there is no way I could do that. But I promise you, this post will show you how easy it is to build a gallery wall!
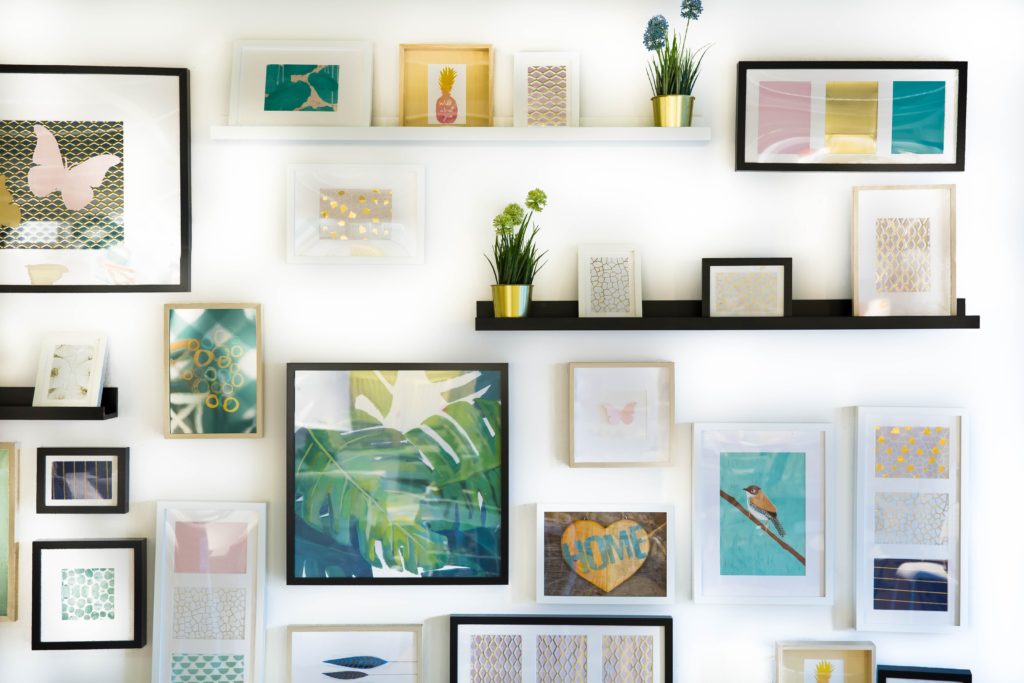
Photo by Jonny Caspari on Unsplash

Photo by Amy Humphries on Unsplash
Supplies needed:
1: kraft/throwaway paper (I used paper grocery bags and filler paper from packages)
2: scissors
3: tape (painter’s tape or other tape that is safe for walls)
4: pencil/something to write with
5: nails (the weight of your piece will determine the kind of nail you need. I am using small finishing nails)
6: hammer
7: level
8: all of your artwork that you would like to hang
Step 1:
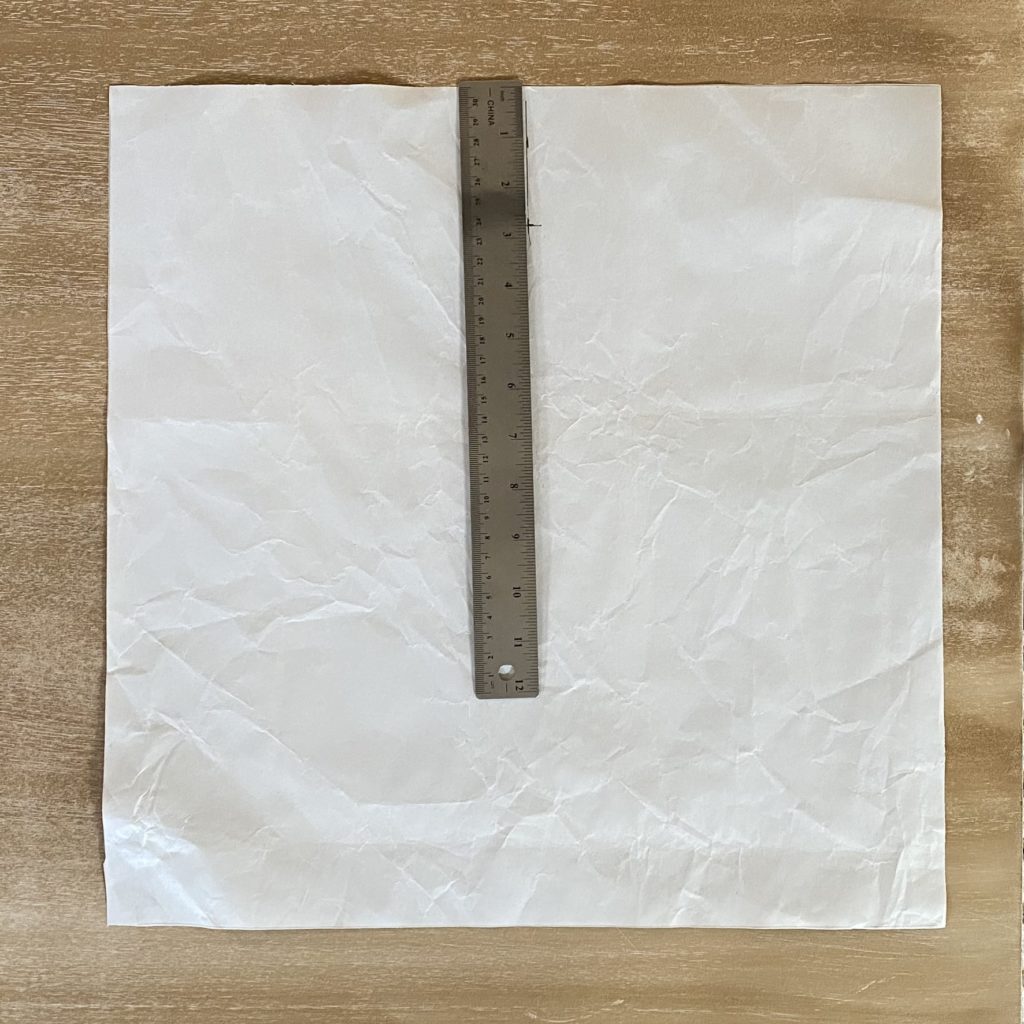
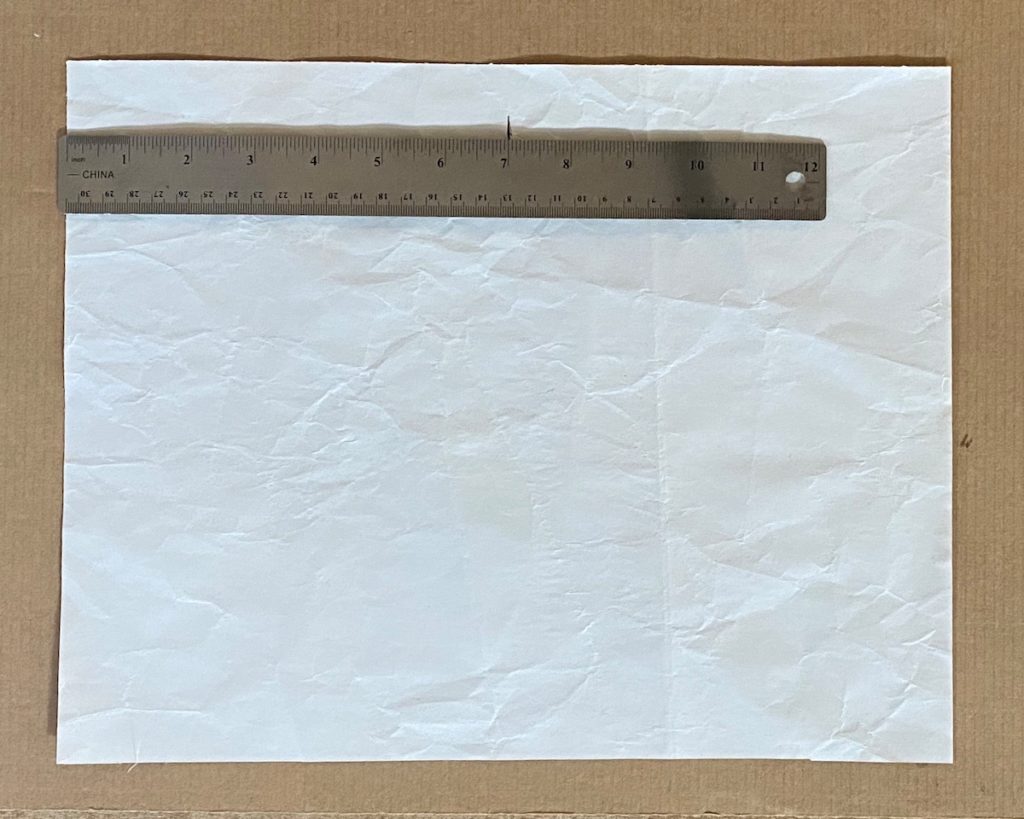
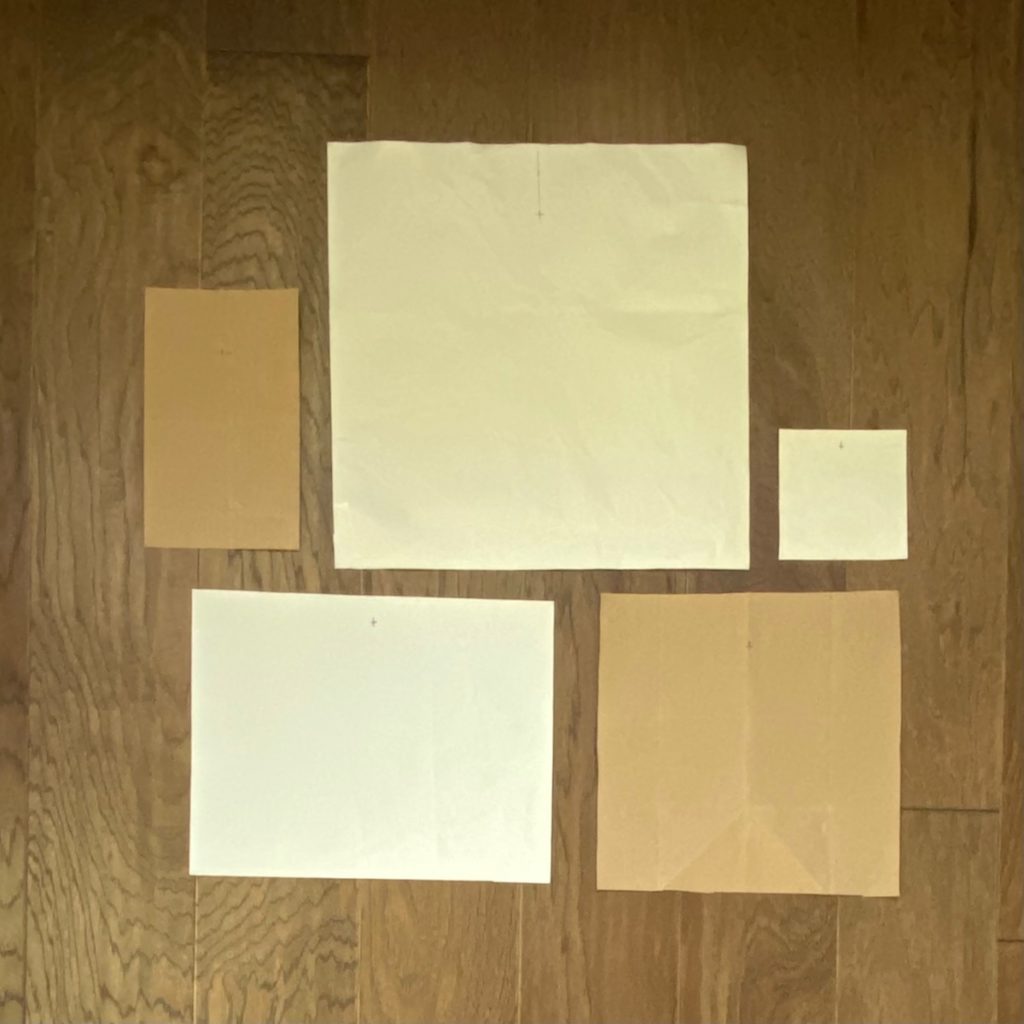
Gather your artwork and lay it on top of your paper. Trace around the art with pencil, or measure the piece and then draw that onto paper. These pieces of paper will become your “gallery”.
Step 2:
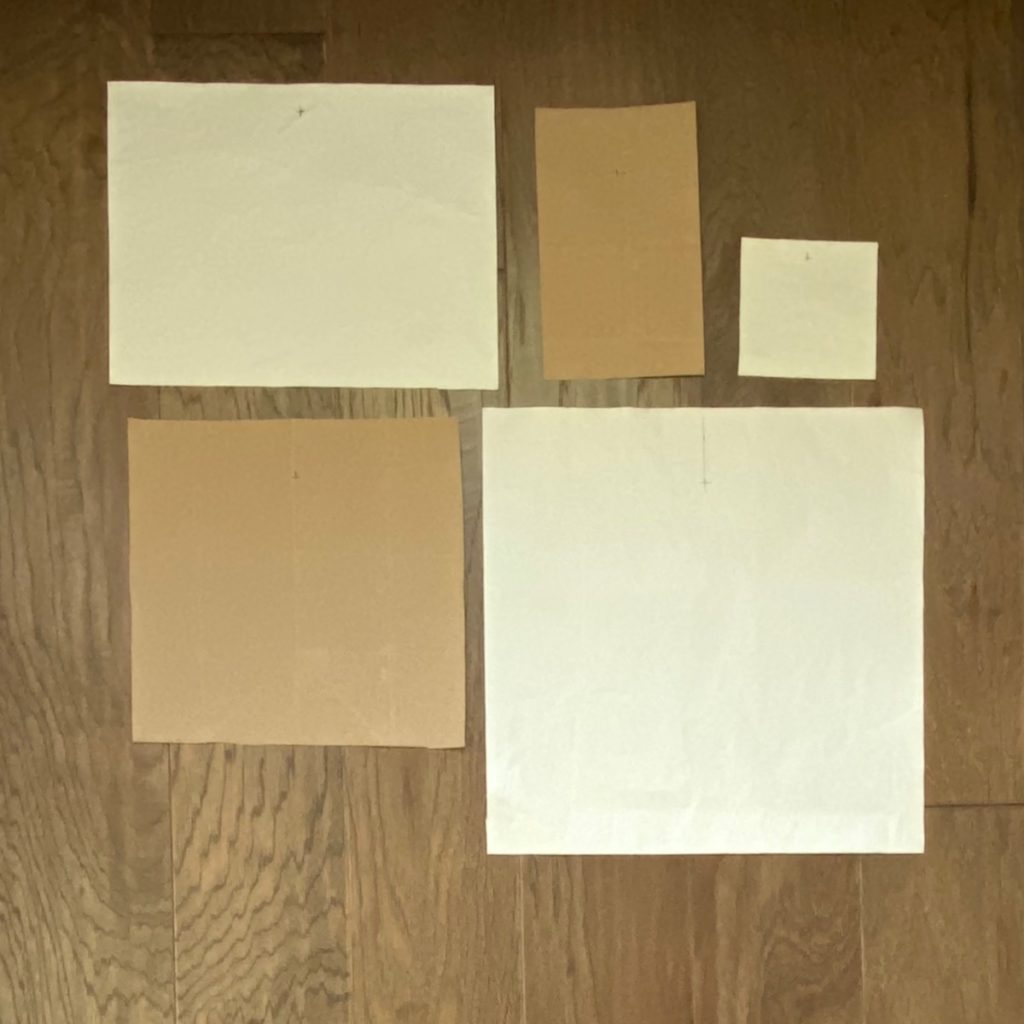
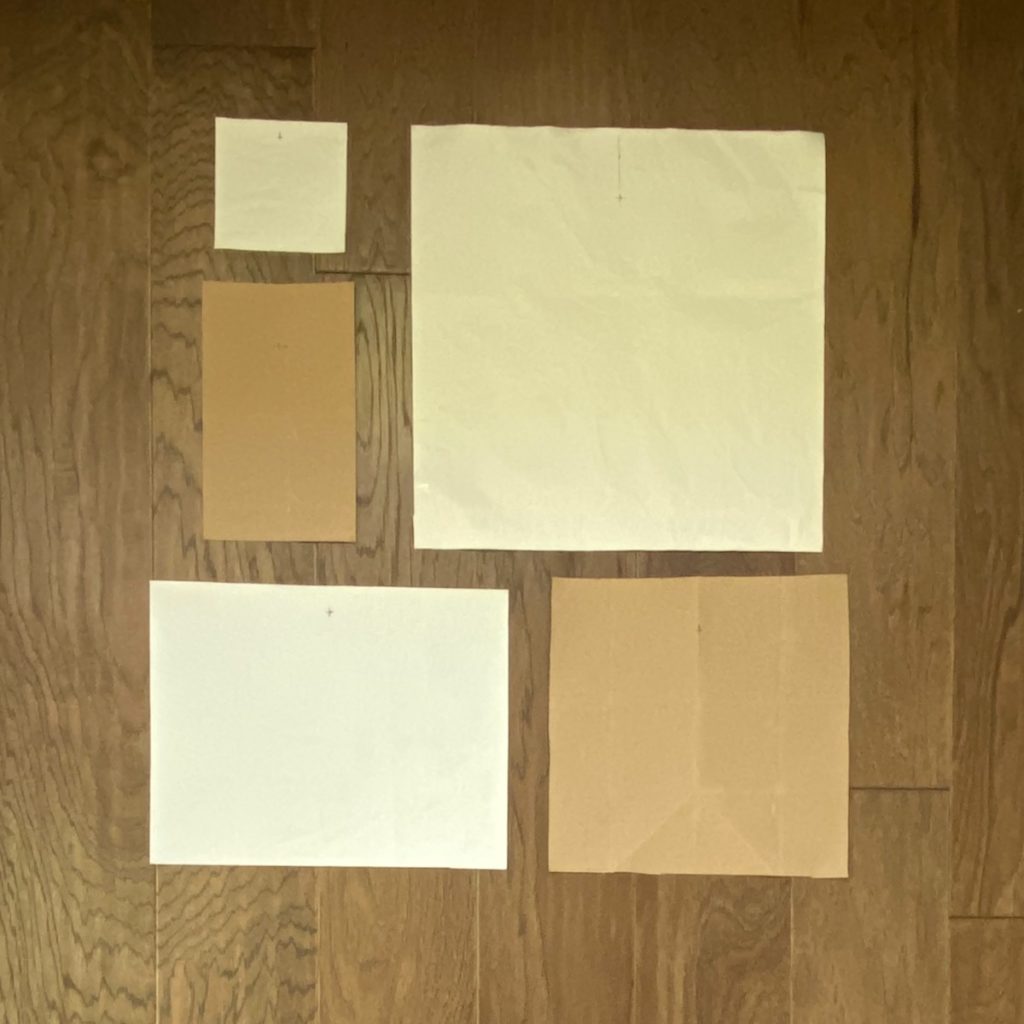
Once you have traced/measured all of your work, cut out each “piece”
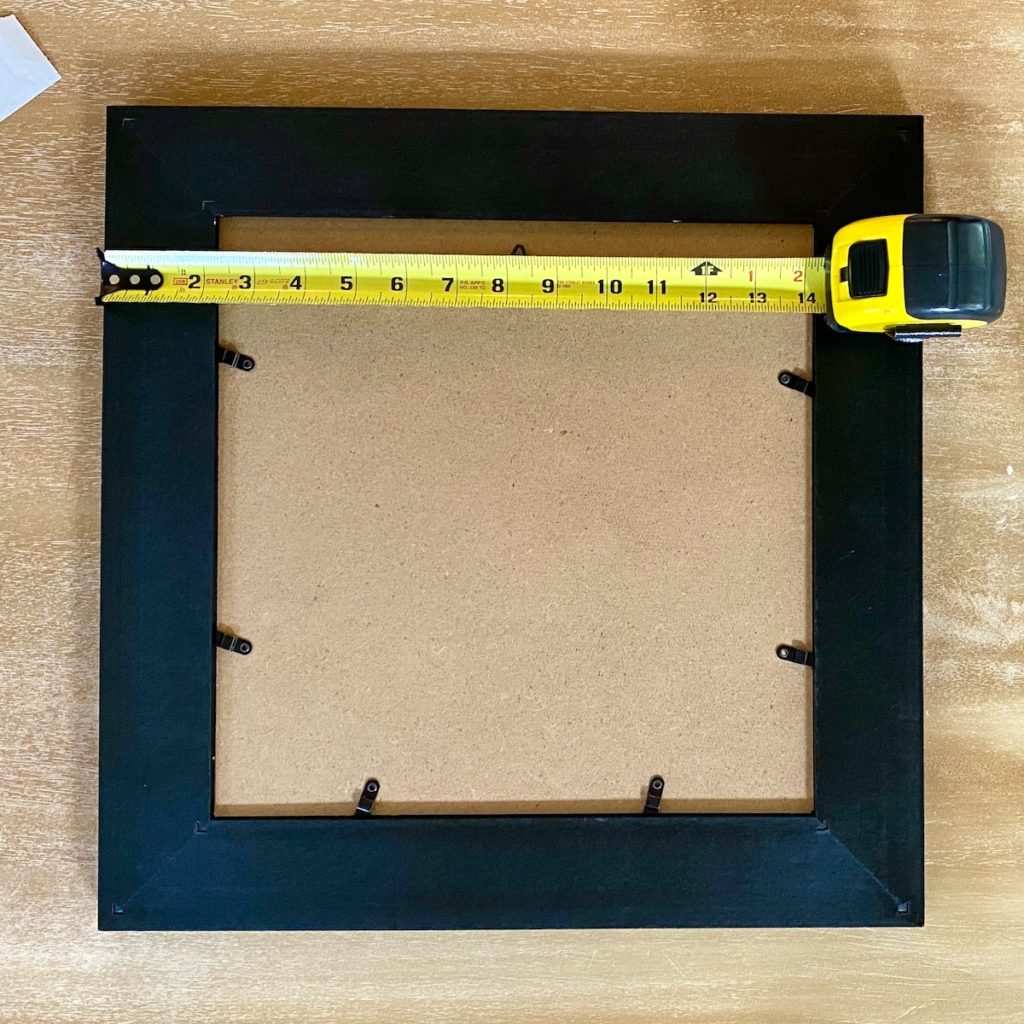
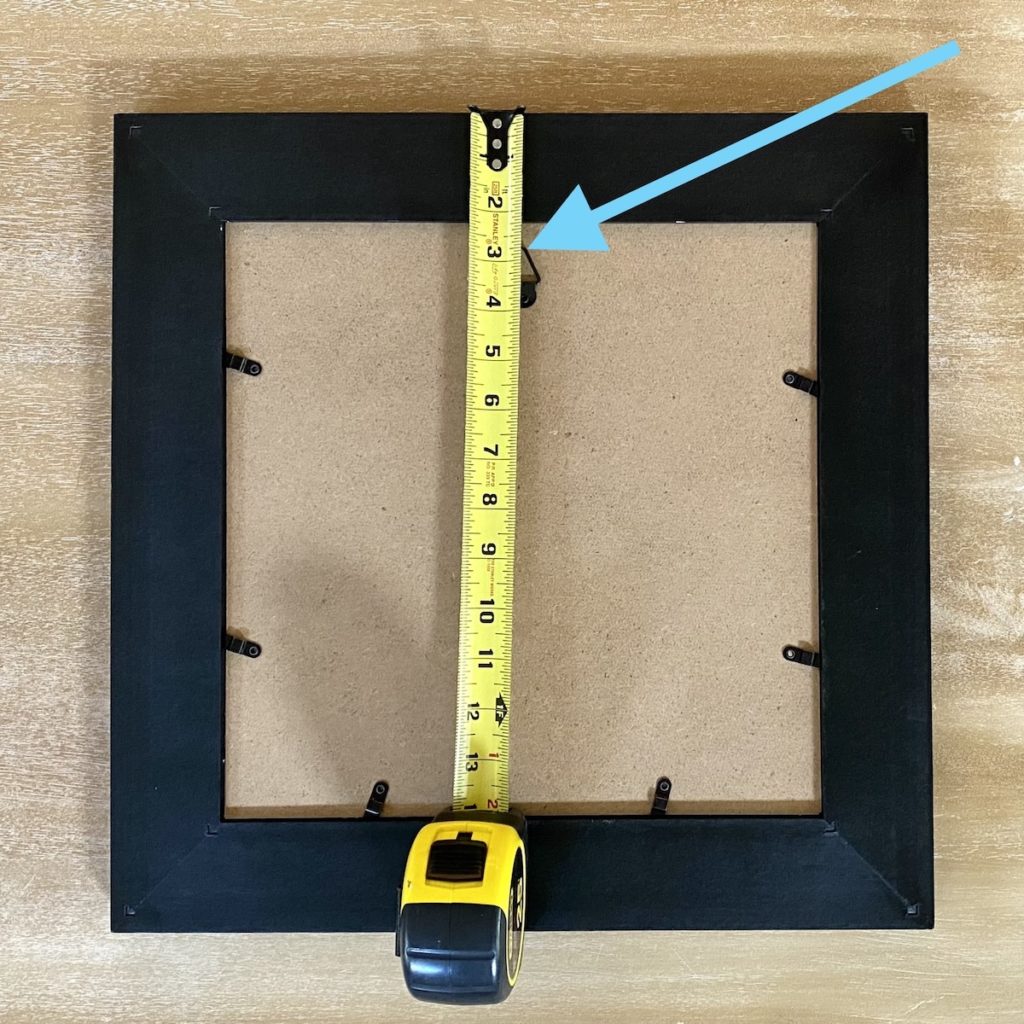
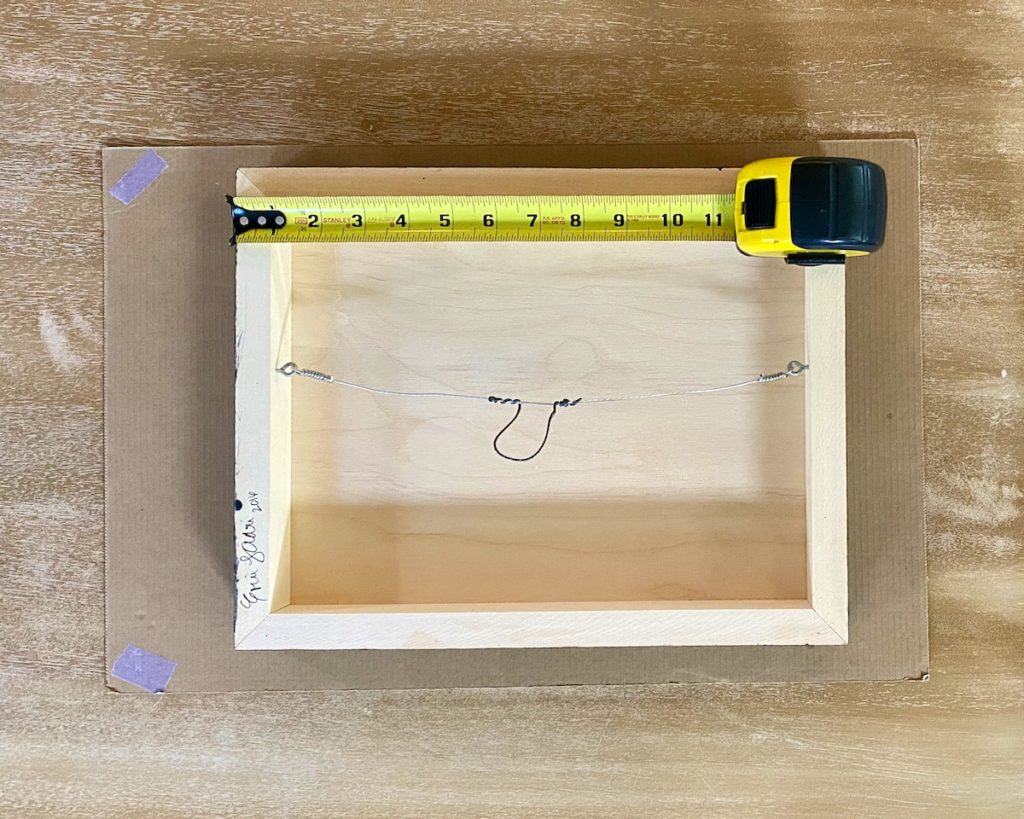
Step 3:
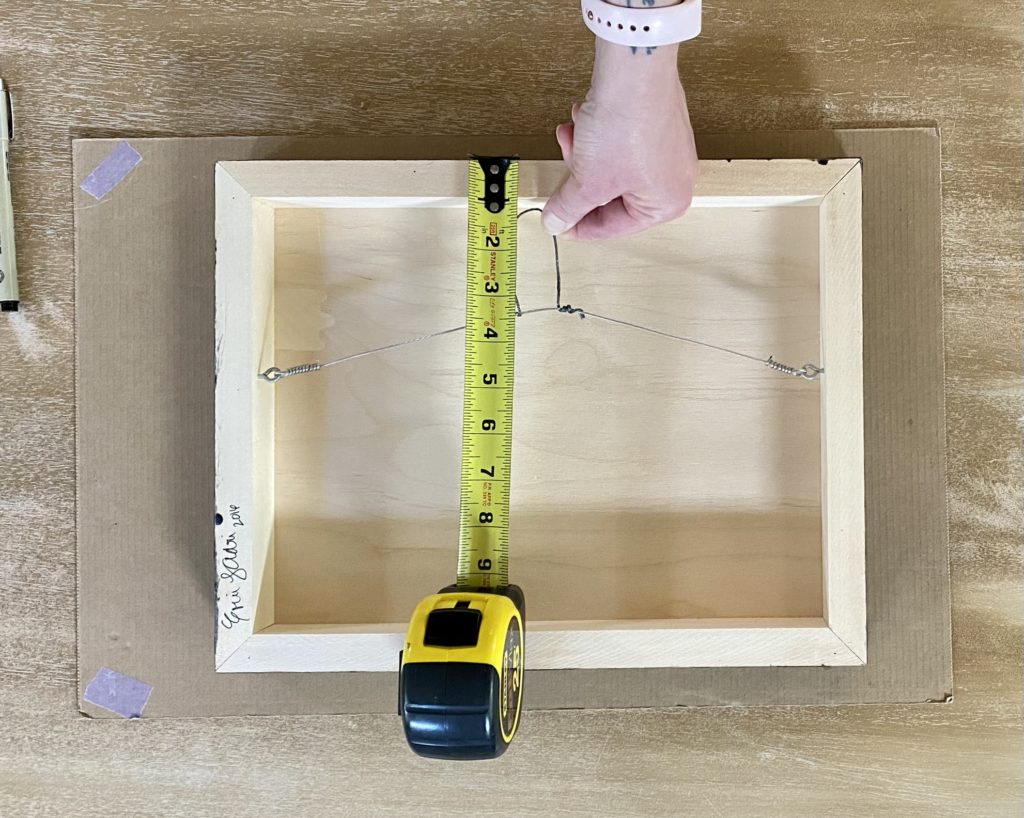
Okay friends, deep breath. This is the only difficult part, because it involves some mathing. Flip your piece of art over and measure from the top of the frame to the hanging wire when pulled taut (see photos) to determine where to put your nail. As much as I loathe saying this…measure twice just to make sure you’ve got it right. (If you know me, you know that my husband has described me as “ready, shoot, aim”- I may love instant gratification sometimes 😂) Once you know your measurements, mark it on your paper artwork–this is where your nail will go!
Step 4:
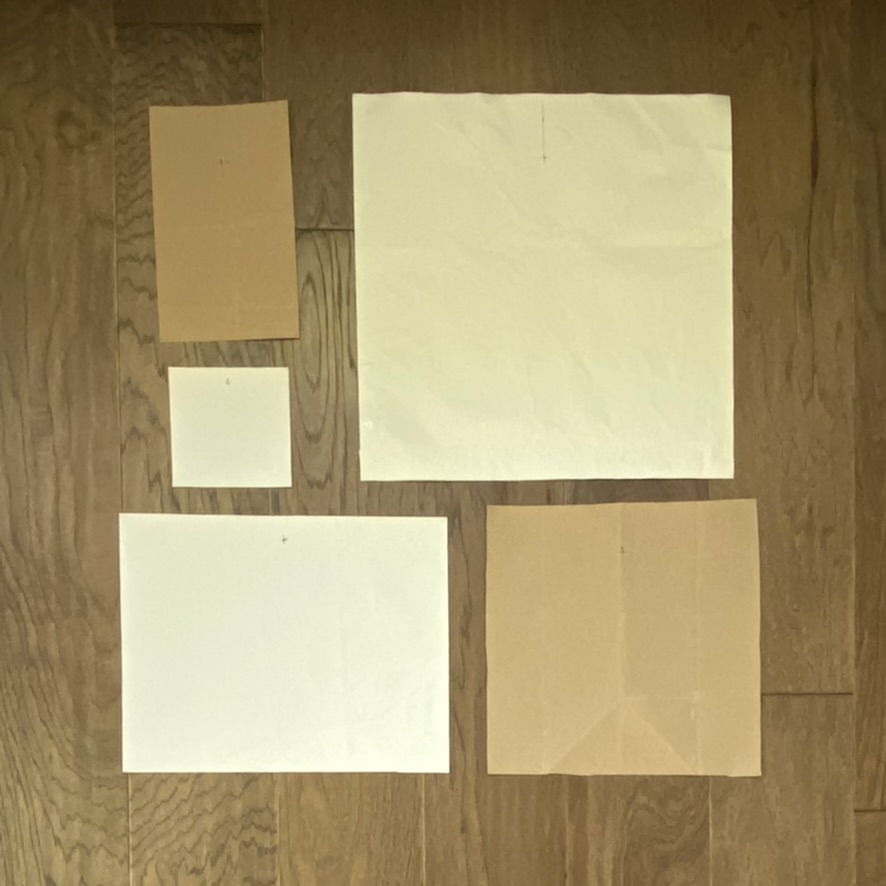
Now the fun begins. Since there are no rigid rules on how to group your artwork, play around with placement by laying the “gallery” of paper artwork on the floor. I personally like to take pictures of each iteration so that I can go back and compare the designs.

Step 5:
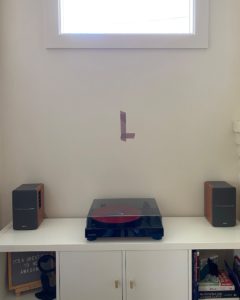
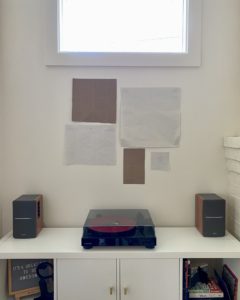
Once you have decided on your design, you get to tape your gallery to the wall! I measured out where the center of the wall was, and marked it with tape. Honestly, I usually don’t do things like that, and I really do think you could eyeball it.
Step 6:
Since you’ve already measured twice (👏) you are ready to put nails in your wall! Just use your handy dandy hammer and put the nail right where you marked your paper. Easy peasy!! Once all of your nails are in, remove the paper artwork from the wall.
Step 6.5:
Accidentally knock over your Ikea hacked table and break one of the legs so badly that it cannot be repaired.
Step 7:
Hang your art! Don’t forget to double check with your level and make any adjustments that you need.
Step 8:
Pat yourself on the back for doing hard things! Now the artwork that you have been collecting can hang out with to it’s artwork friends, and you can enjoy seeing your art up on your walls looking all fancy like.
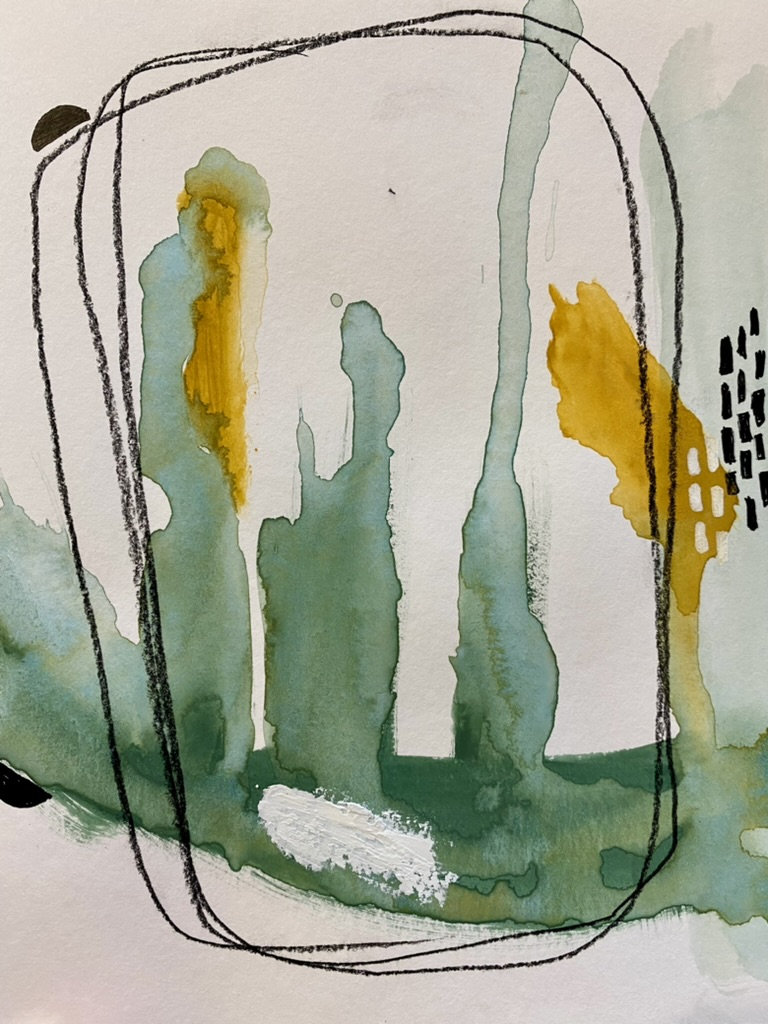
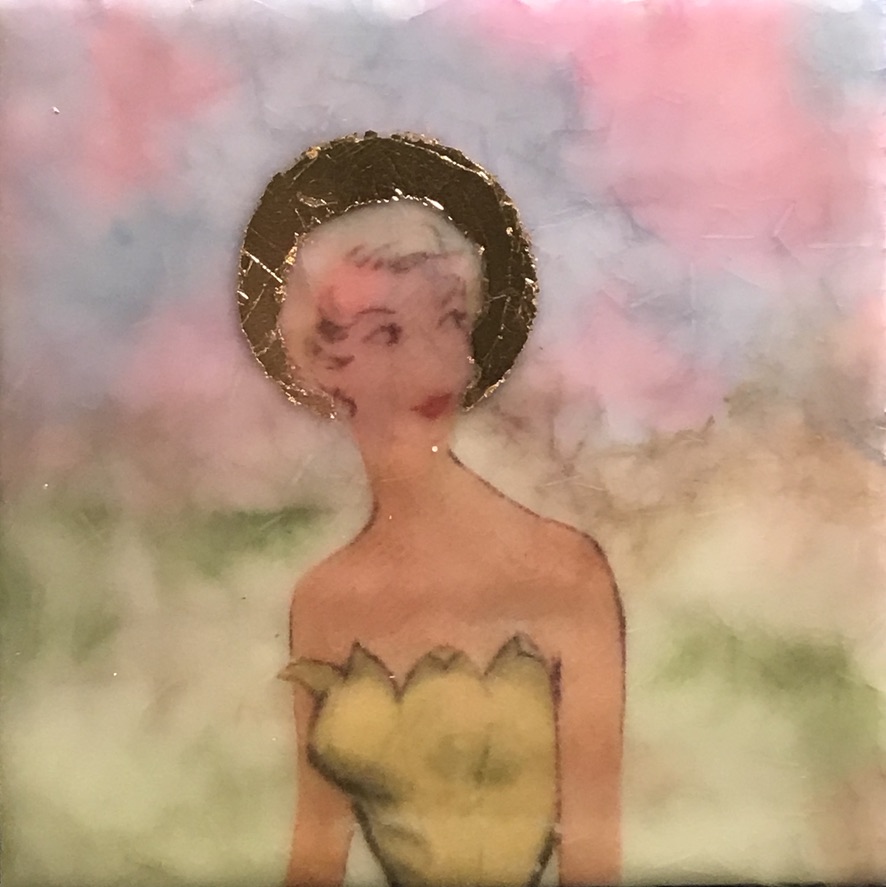
If you are looking for any work to add to your collection, check out these paintings (and more) in my shop.
https://erinadrianart.com/product/to-be-herself/
https://erinadrianart.com/product/tell-me-what-your-heart-wants/
Let me know if you hang your own gallery wall! I would love to see how it turns out!